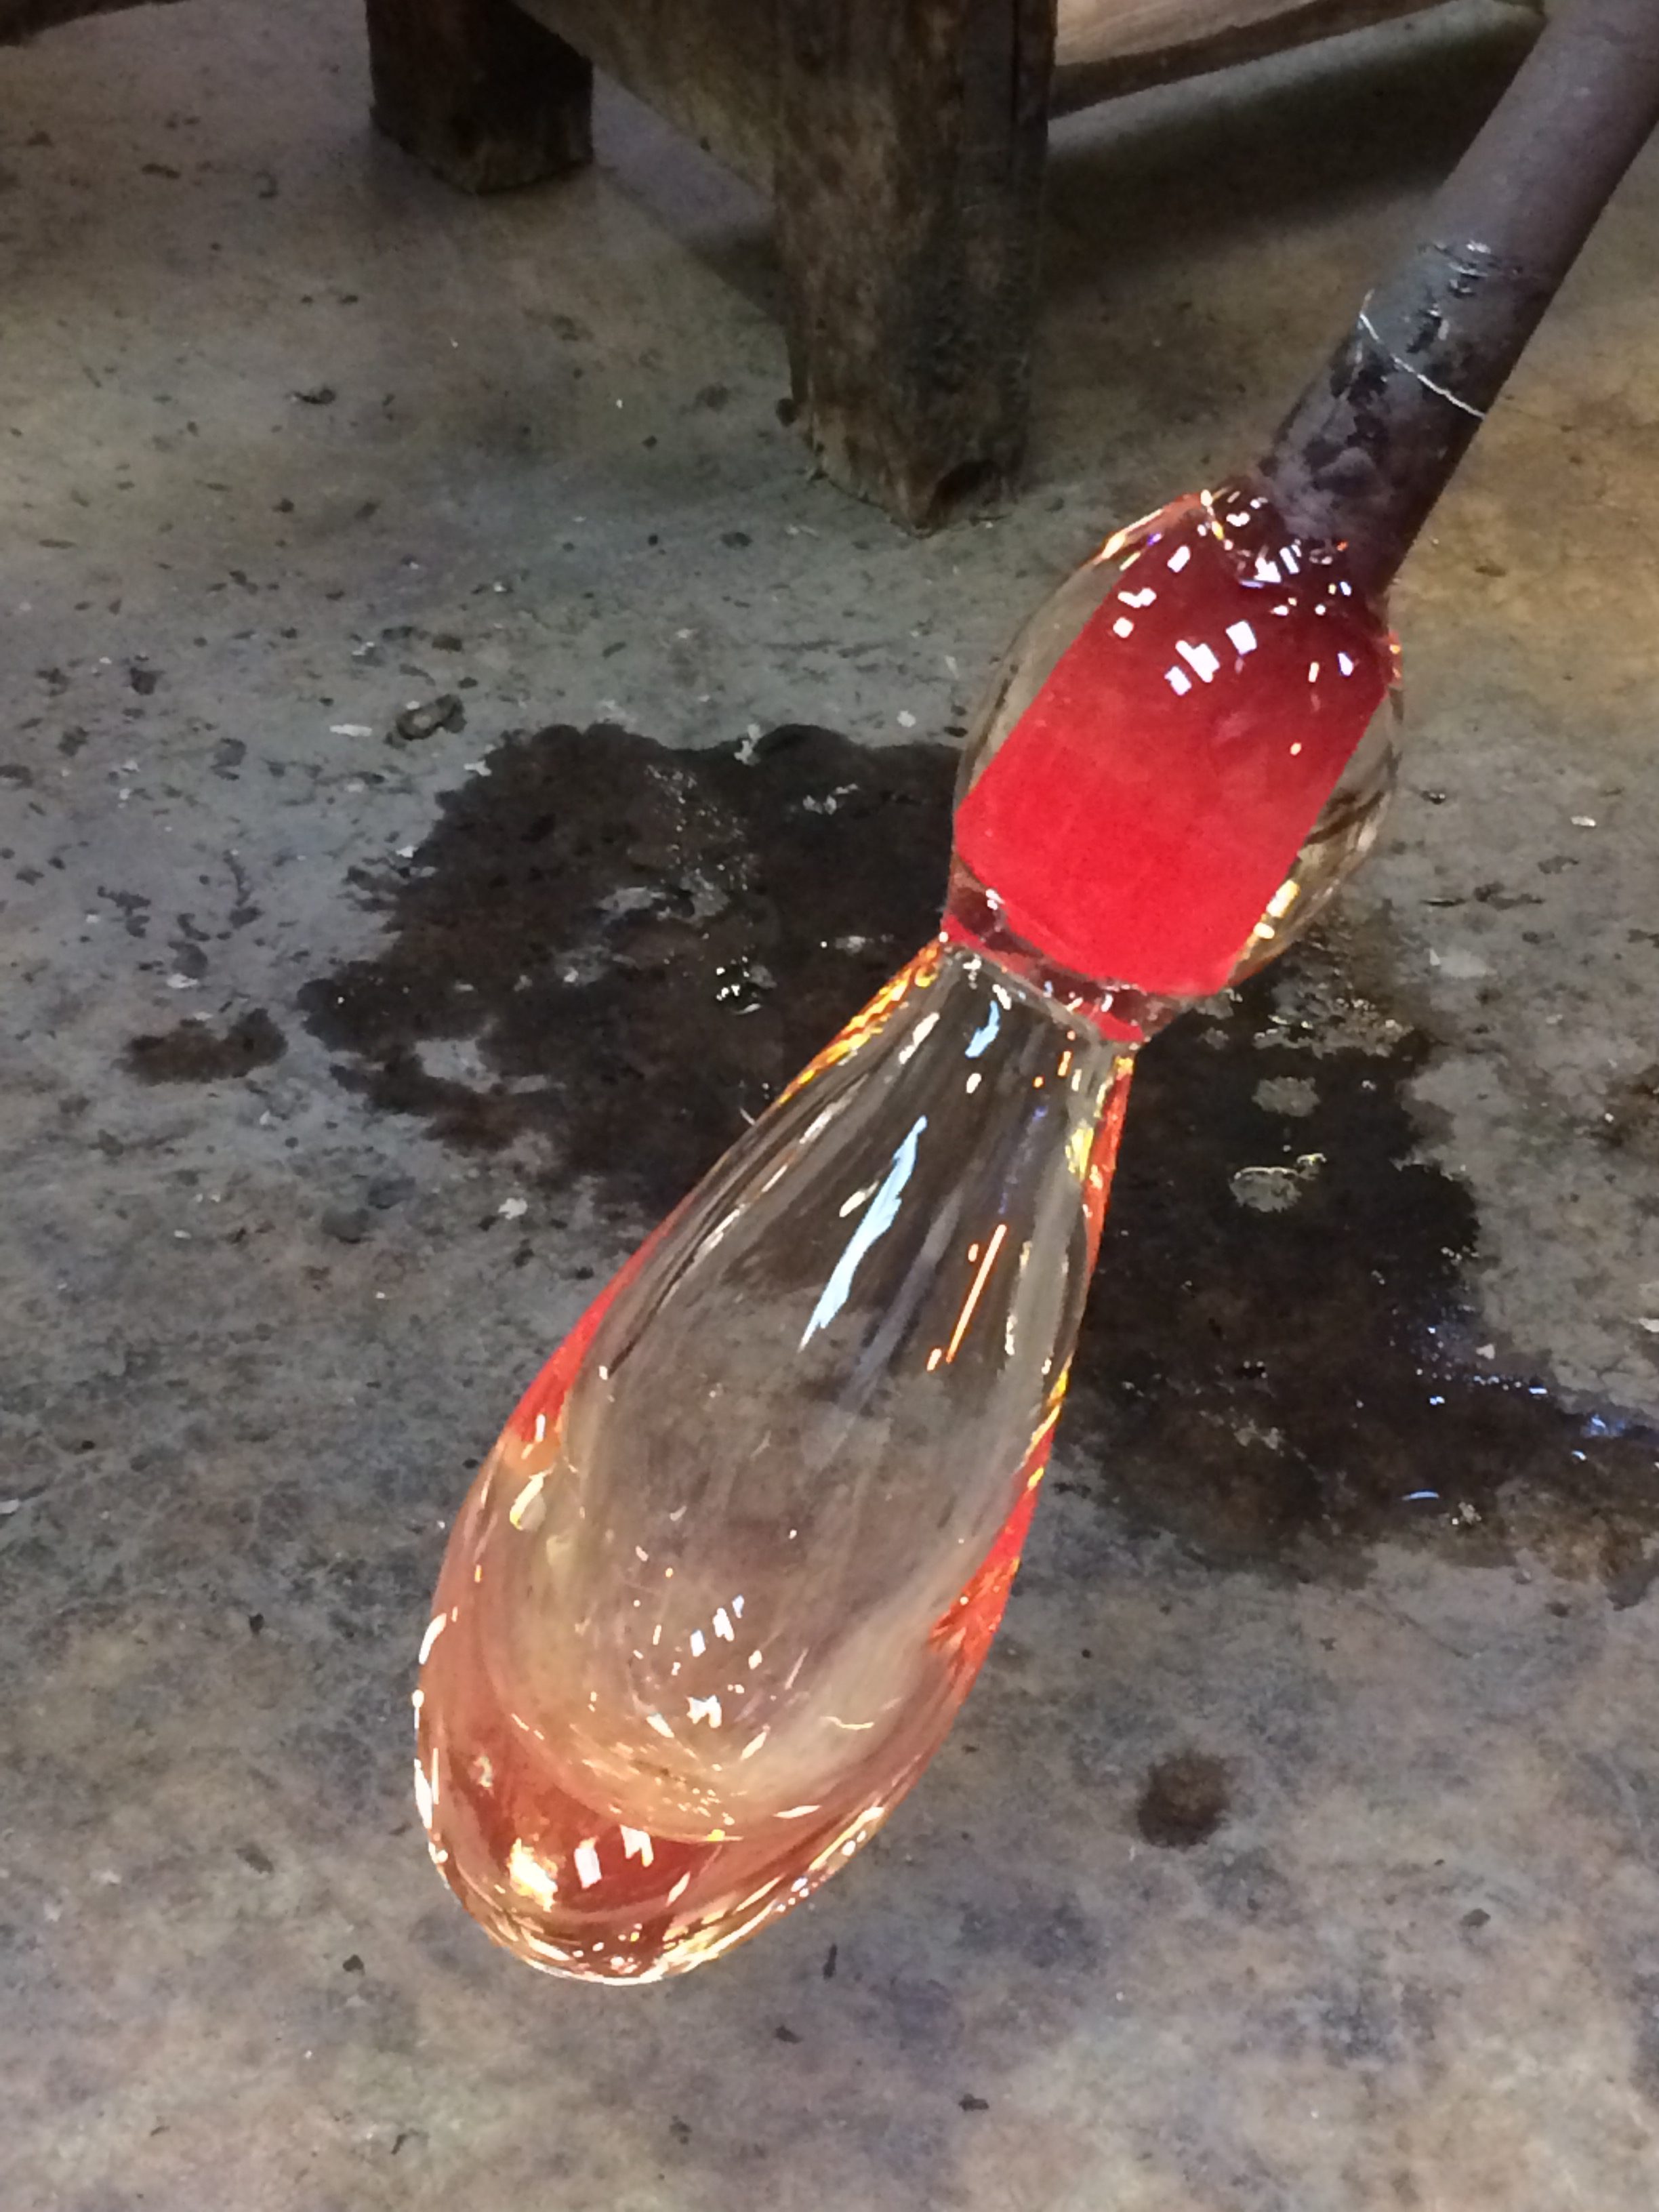
It’s amazing what you can do with a metal rod, some molten glass and a selection of mediaeval tools. Perhaps I should clarify – it’s amazing what you can do with a metal rod, some molten glass and some mediaeval tools… IF you have years of experience and a large dose of talent under your belt.
I will be grateful for the rest of my life for the fabulous gift Mr Jenkins gave me for my last birthday – a day of glassmaking at London Glassblowing – but I will also be aware that I’ll never be glass artist, and instead will merely appreciate the work, skill and talent that goes in to making the beautiful works of art displayed at London Glassblowing, Peter Layton‘s glass studio in Bermondsey Street.
I’ve loved watching glass artists from an early age. I think I saw my first glass blowing demonstration around the age of nine or ten and found it instantly fascinating. I’ve witnessed the same techniques being used in glass studios around the world, in the States, Australia, Italy, Portugal…. and in my home town, Sunderland. I was lucky enough to see glass being made at Hartley, Wood & Co in the Monkwearmouth area of Sunderland in the early 1980s before the factory closed. The scene inside probably hadn’t changed much over the previous century, perhaps a few nods to health and safety, but the guys there explained that the tools were identical to their Roman counterparts.
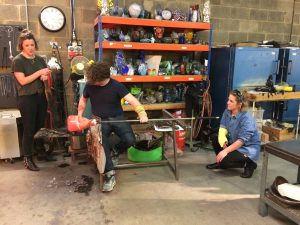
And here I am watching a glass making demonstration in 2017, feeling a little bit annoyed with myself that when I booked last July (yes, demand for these classes is that high!) I hadn’t realised there would be a planet-wide women’s demonstration marching through the major cities of the world. I felt that I was letting the side down a bit, but then I soon became absorbed in the art of glassblowing and a fear of major injury!
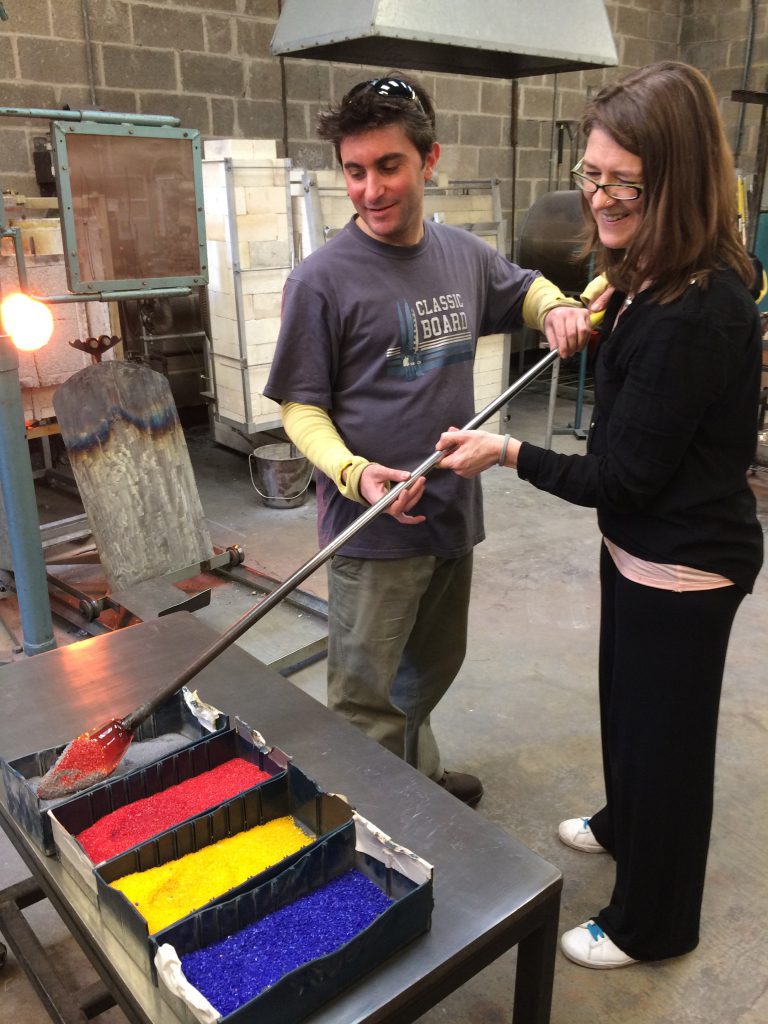
Our demonstrator is Anthony, one of the two tutors on hand today to take us six novices through our paces. It looks so simple; collect the glass, add some pigment, mould it, poke it, heat it up again if it’s losing its pliability, work it a bit more with the scary pincer things (they’re called ‘jacks’, apparently), knock it off the rod and stick it in the oven to gradually cool.
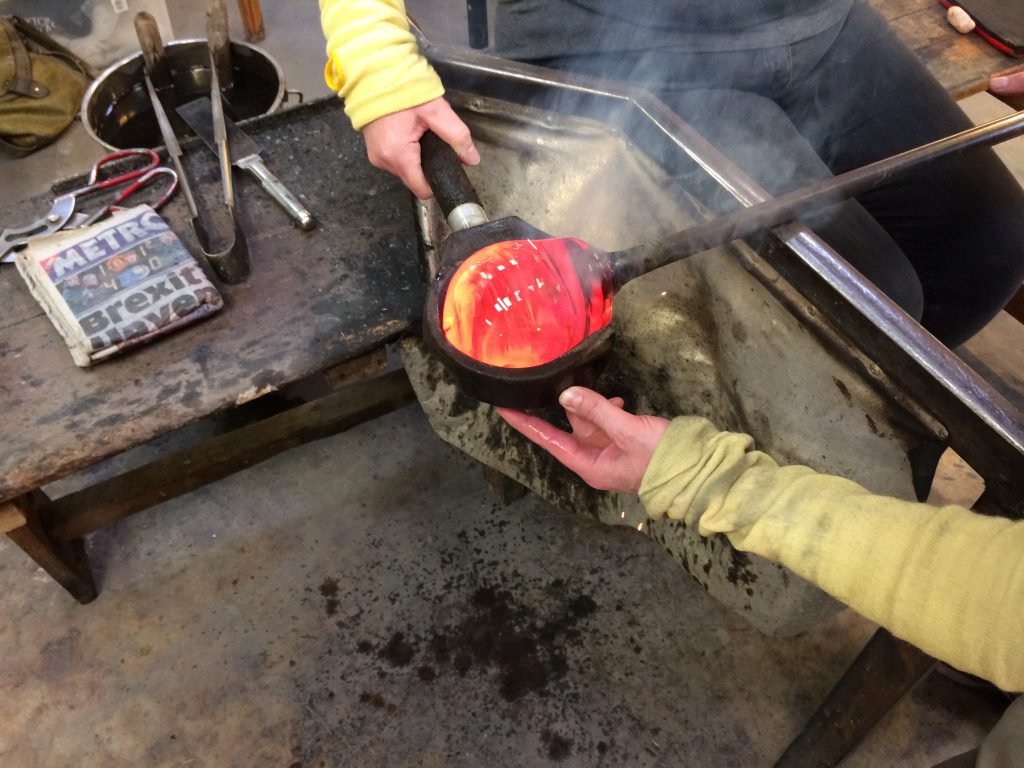
So while you’re doing all that, you also have to concentrate on keeping the glass centred on the end of the rod by twisting it constantly, while also being aware of the magnificent heat given off by the blob of red hot stuff a few centimetres from your hand. And then there’s remembering not to touch the rod with your right hand – turn it with the left, the right hand will be too close to the end of the metal rod which has just been in the furnace and could cause a bit of unnecessary welding between rod and skin!
During our health and safety intro, we were all warned that most people will try to touch the rod with their right hand – and at least two of the three in my group did. So we took on board Anthony’s advice and sat on our right hand when it wasn’t in use.
Our tutors Anthony Scala and Tim Rawlinson are both artists in their own right, and part of the London Glassblowing studio. But today they are putting their own work to one side to help us realise our goal of ‘3 to 4 pieces by the end of the day’.
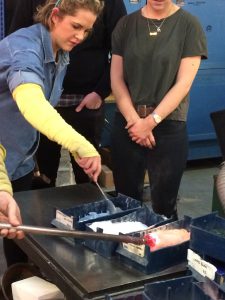
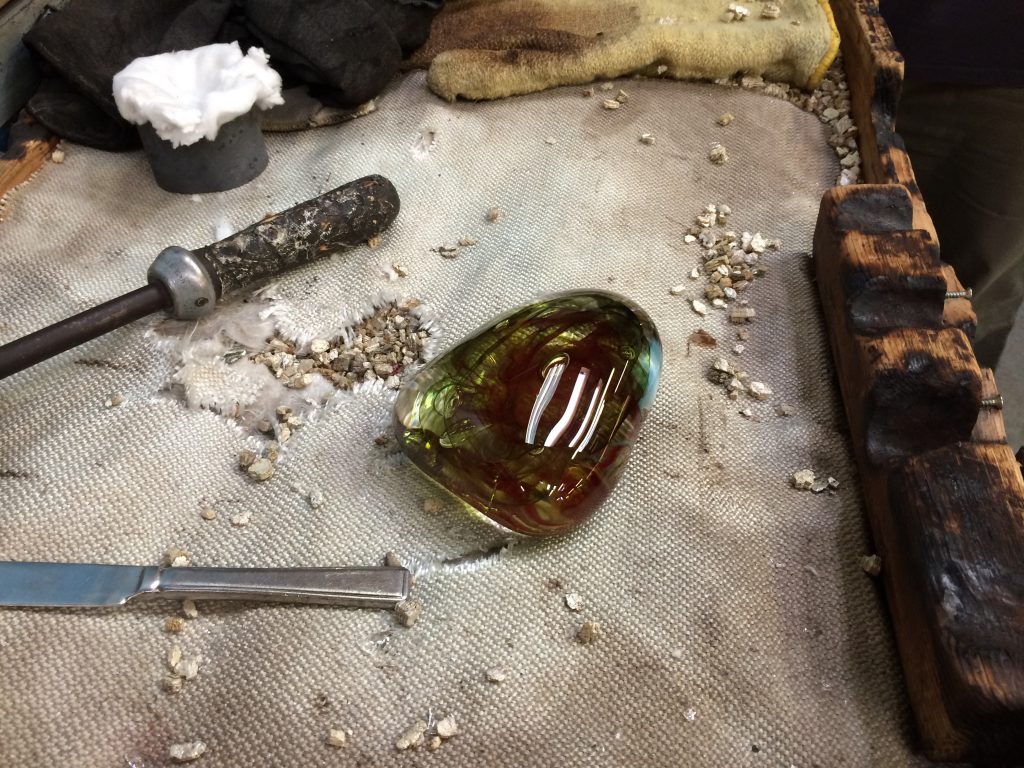
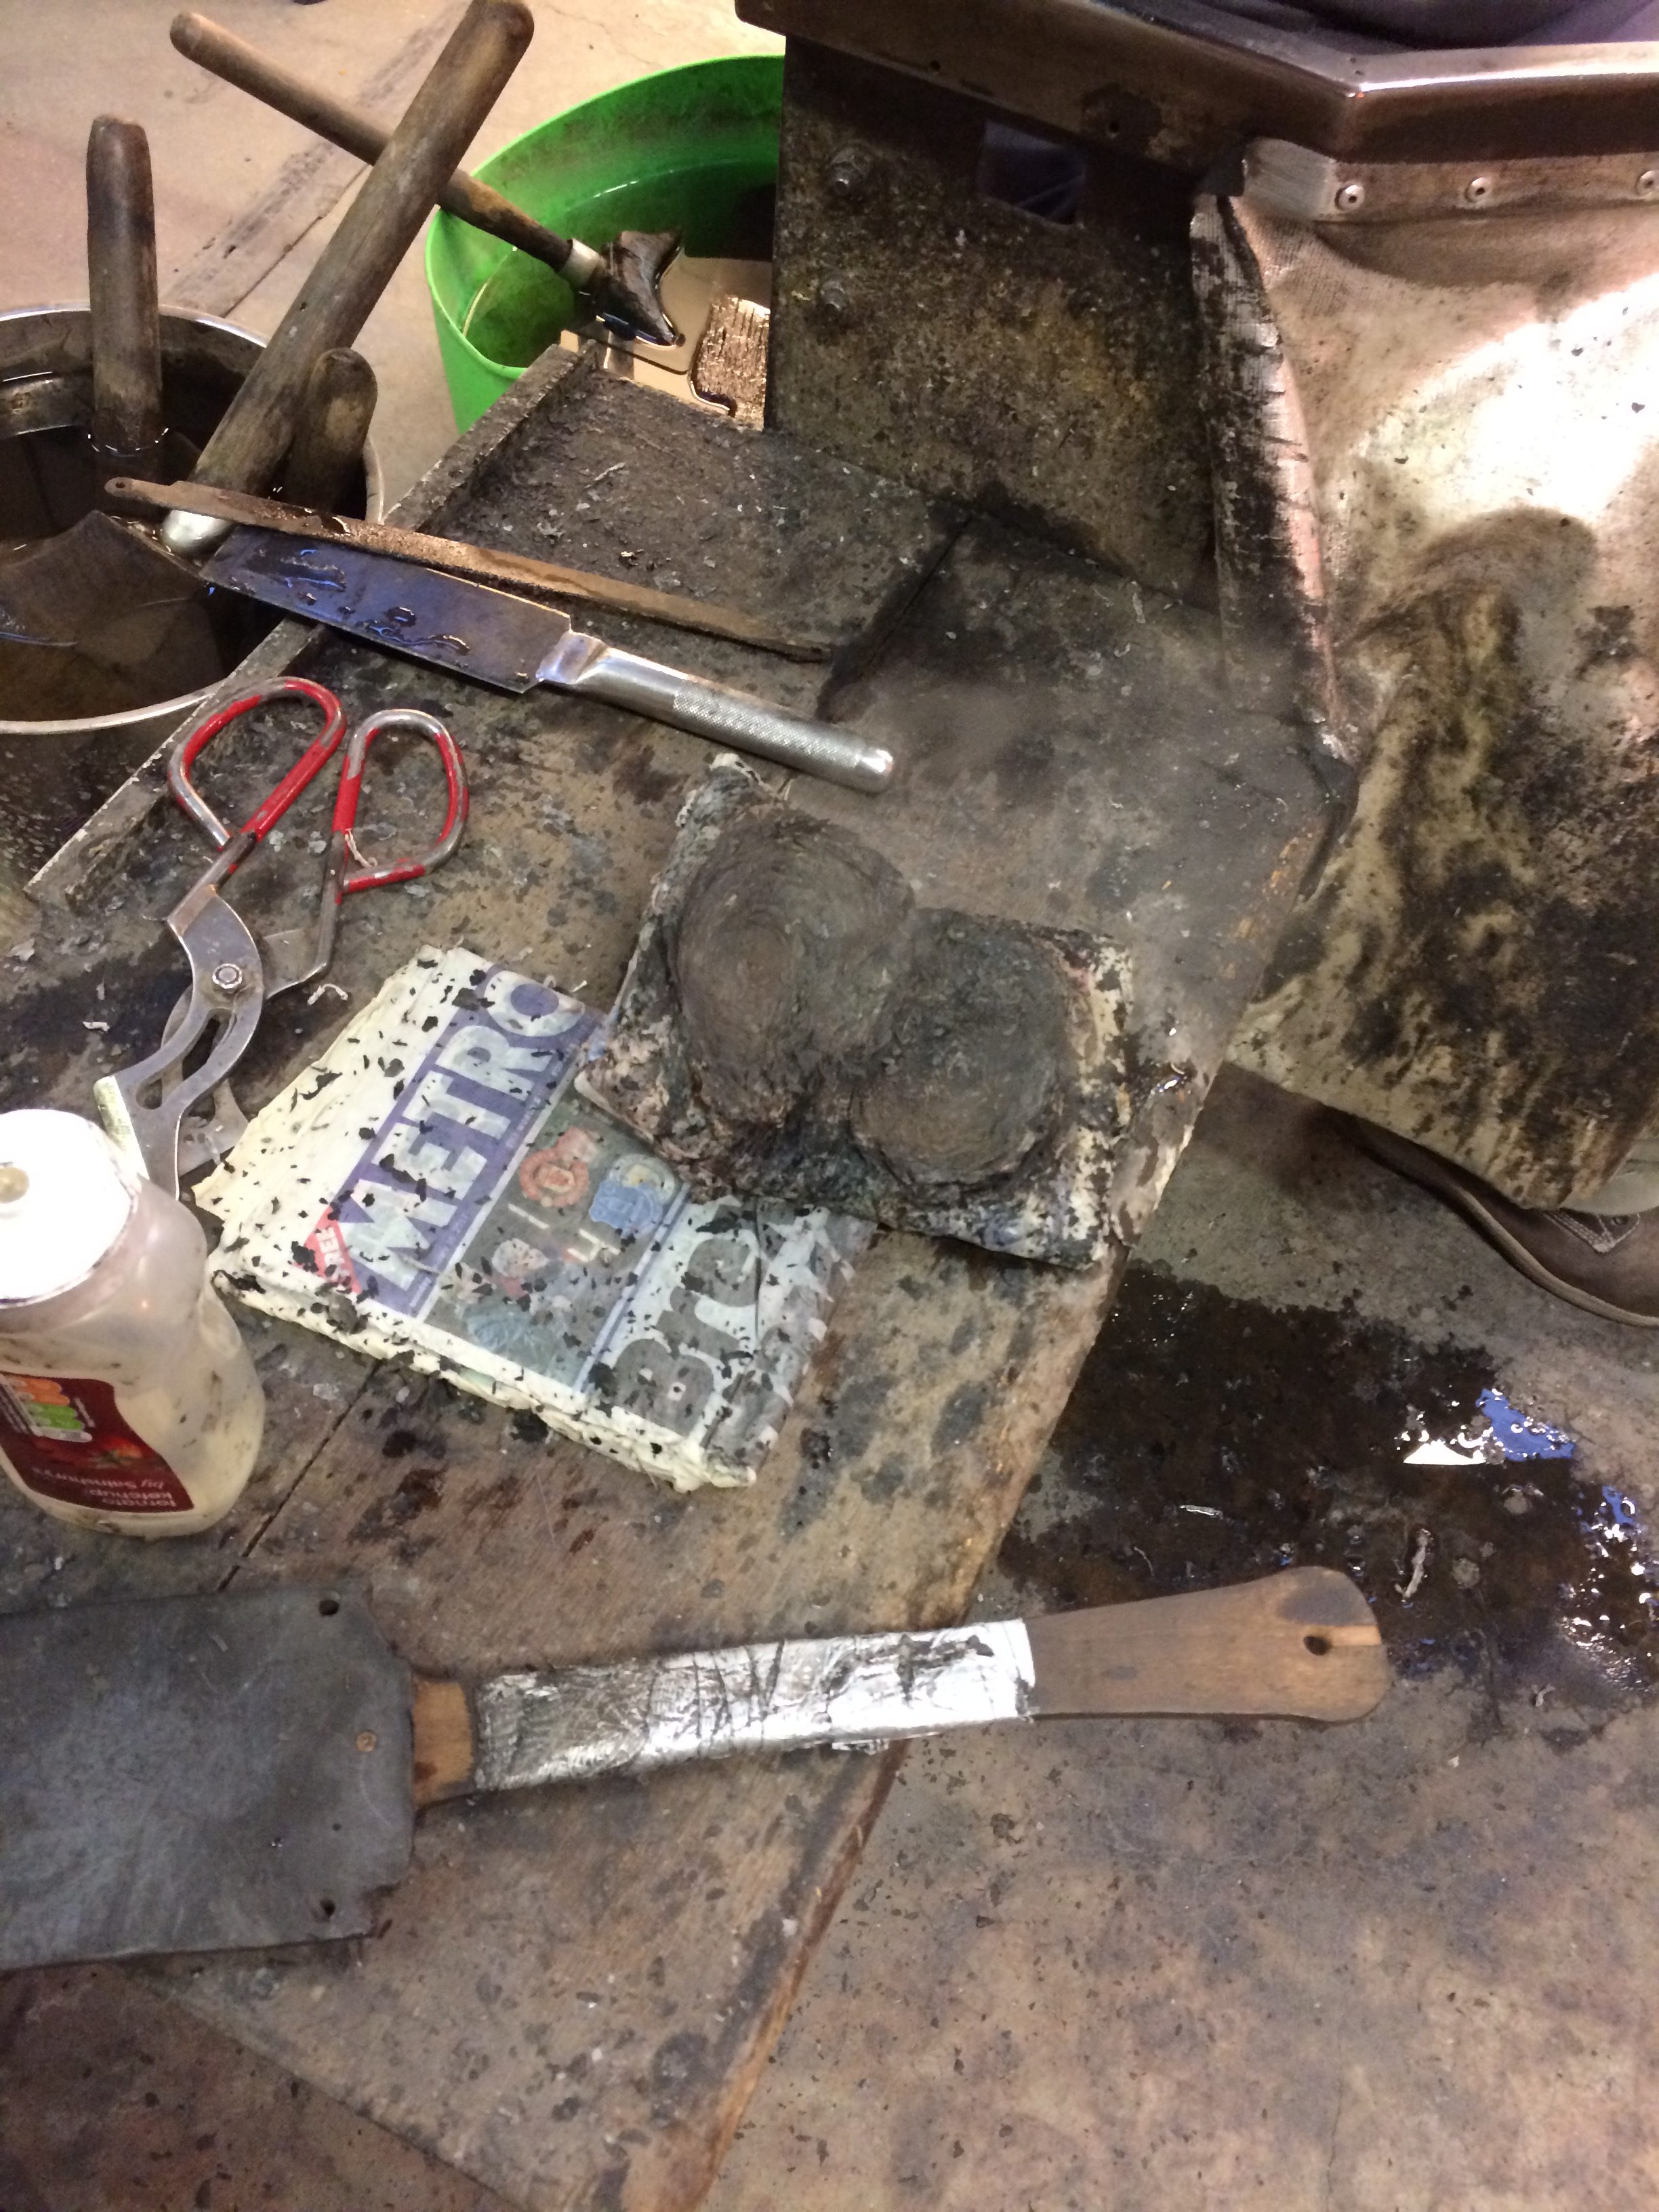
We all begin with a vaguely triangular-shaped paper weight with a single colour. I’m up first. We work in a team, my two fellow novices and I. One shapes the glass, one works as assistant and one takes photos. And Anthony guides you through the techniques managing to do much of the work himself. Although it’s me holding the rod and the tools, he’s guiding my hands and correcting any mistakes as we go. My assistant Lisa is on hand to shield my hand from the heat of the glass with a paddle of wood, to spray water on my pad of paper made from a copy of the Metro and to make sure I’ve replaced the tools pointing in the right direction. Jane is the official photographer for this first session, though I’m far too engrossed and terrified in equal measure to bother smiling for the camera.
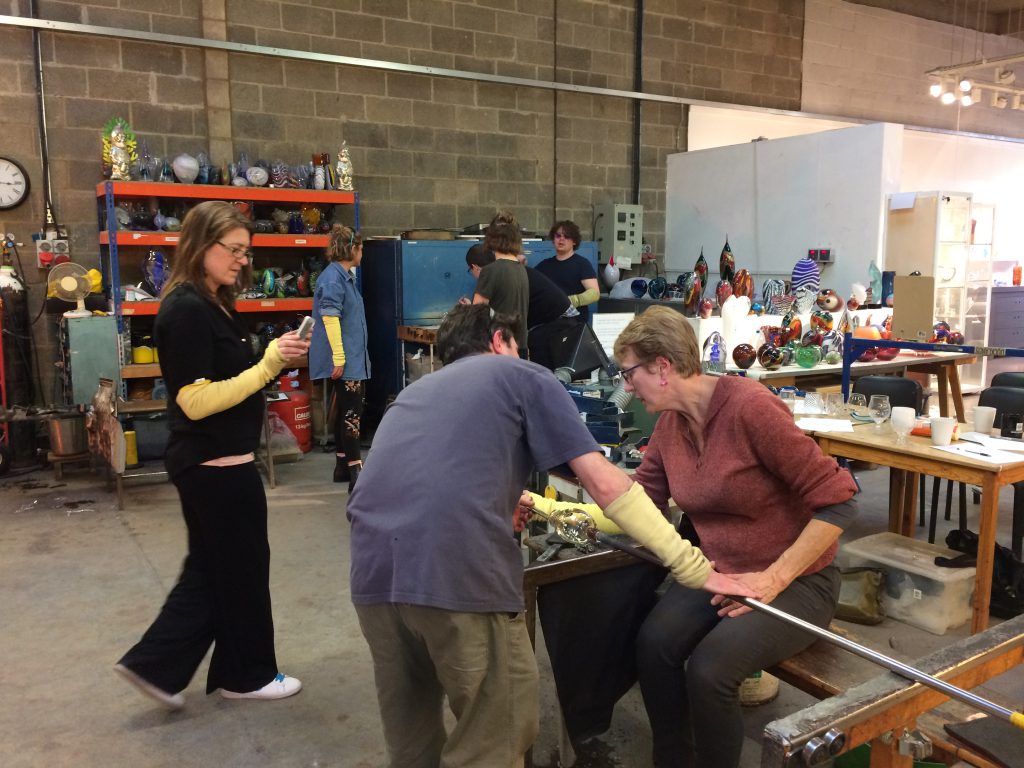
We swap so that Jane can can be put through her paces, I take over as assistant and Lisa takes the photos. Then it’s all change again. And we have three triangular paperweights in the big oven over in the far corner. I forget the correct name for it, as I have for most of the tools, equipment and techniques in use during the day.
Next we make a more complex shape using two or three pigments, and by lunchtime we have three more paperweights in the oven.
Lunch is a welcome break. Leaving the searing heat of the studio to the freezing winter day outside and the short hike to Tanner & Co just up the road. The price of the class includes lunch too, and it’s a great choice for lunch – a lively atmosphere and great food, not to mention the home-made lemonade! We’ve already chosen our dishes, shortly after our health and safety talk, and our order was sent on ahead. I went for the haddock and crab fish cakes, which were lovely, but it didn’t stop me hankering after Lisa’s bacon and cheese burger.
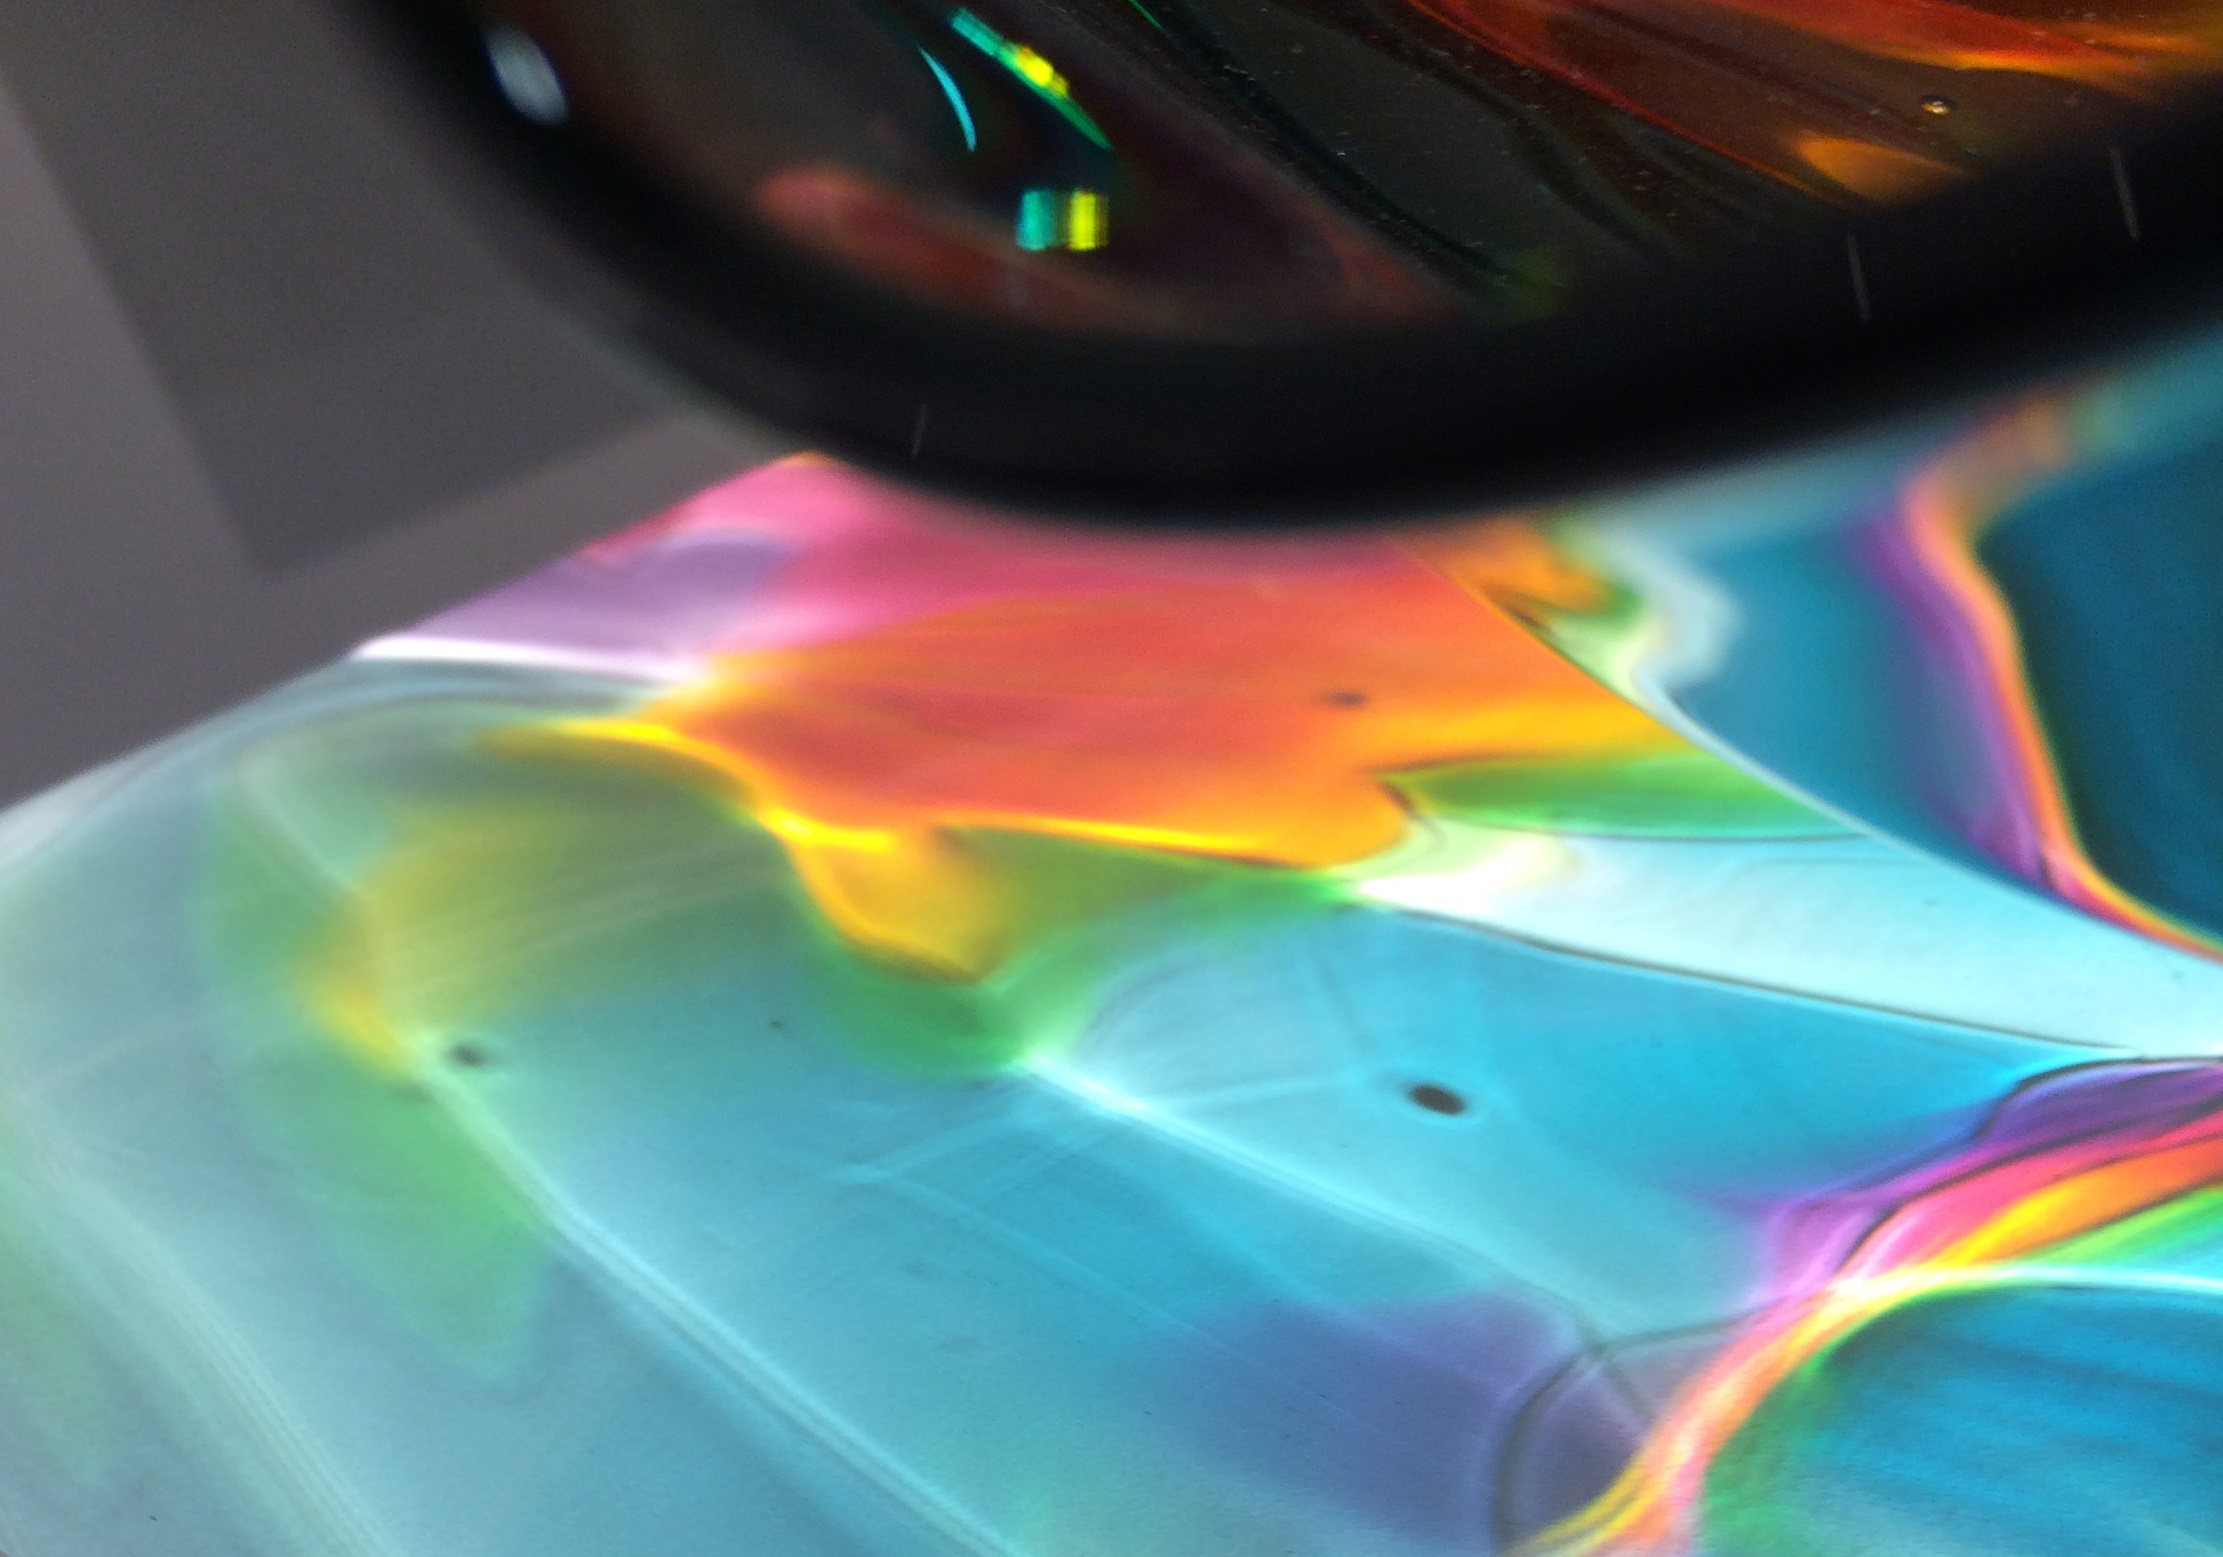
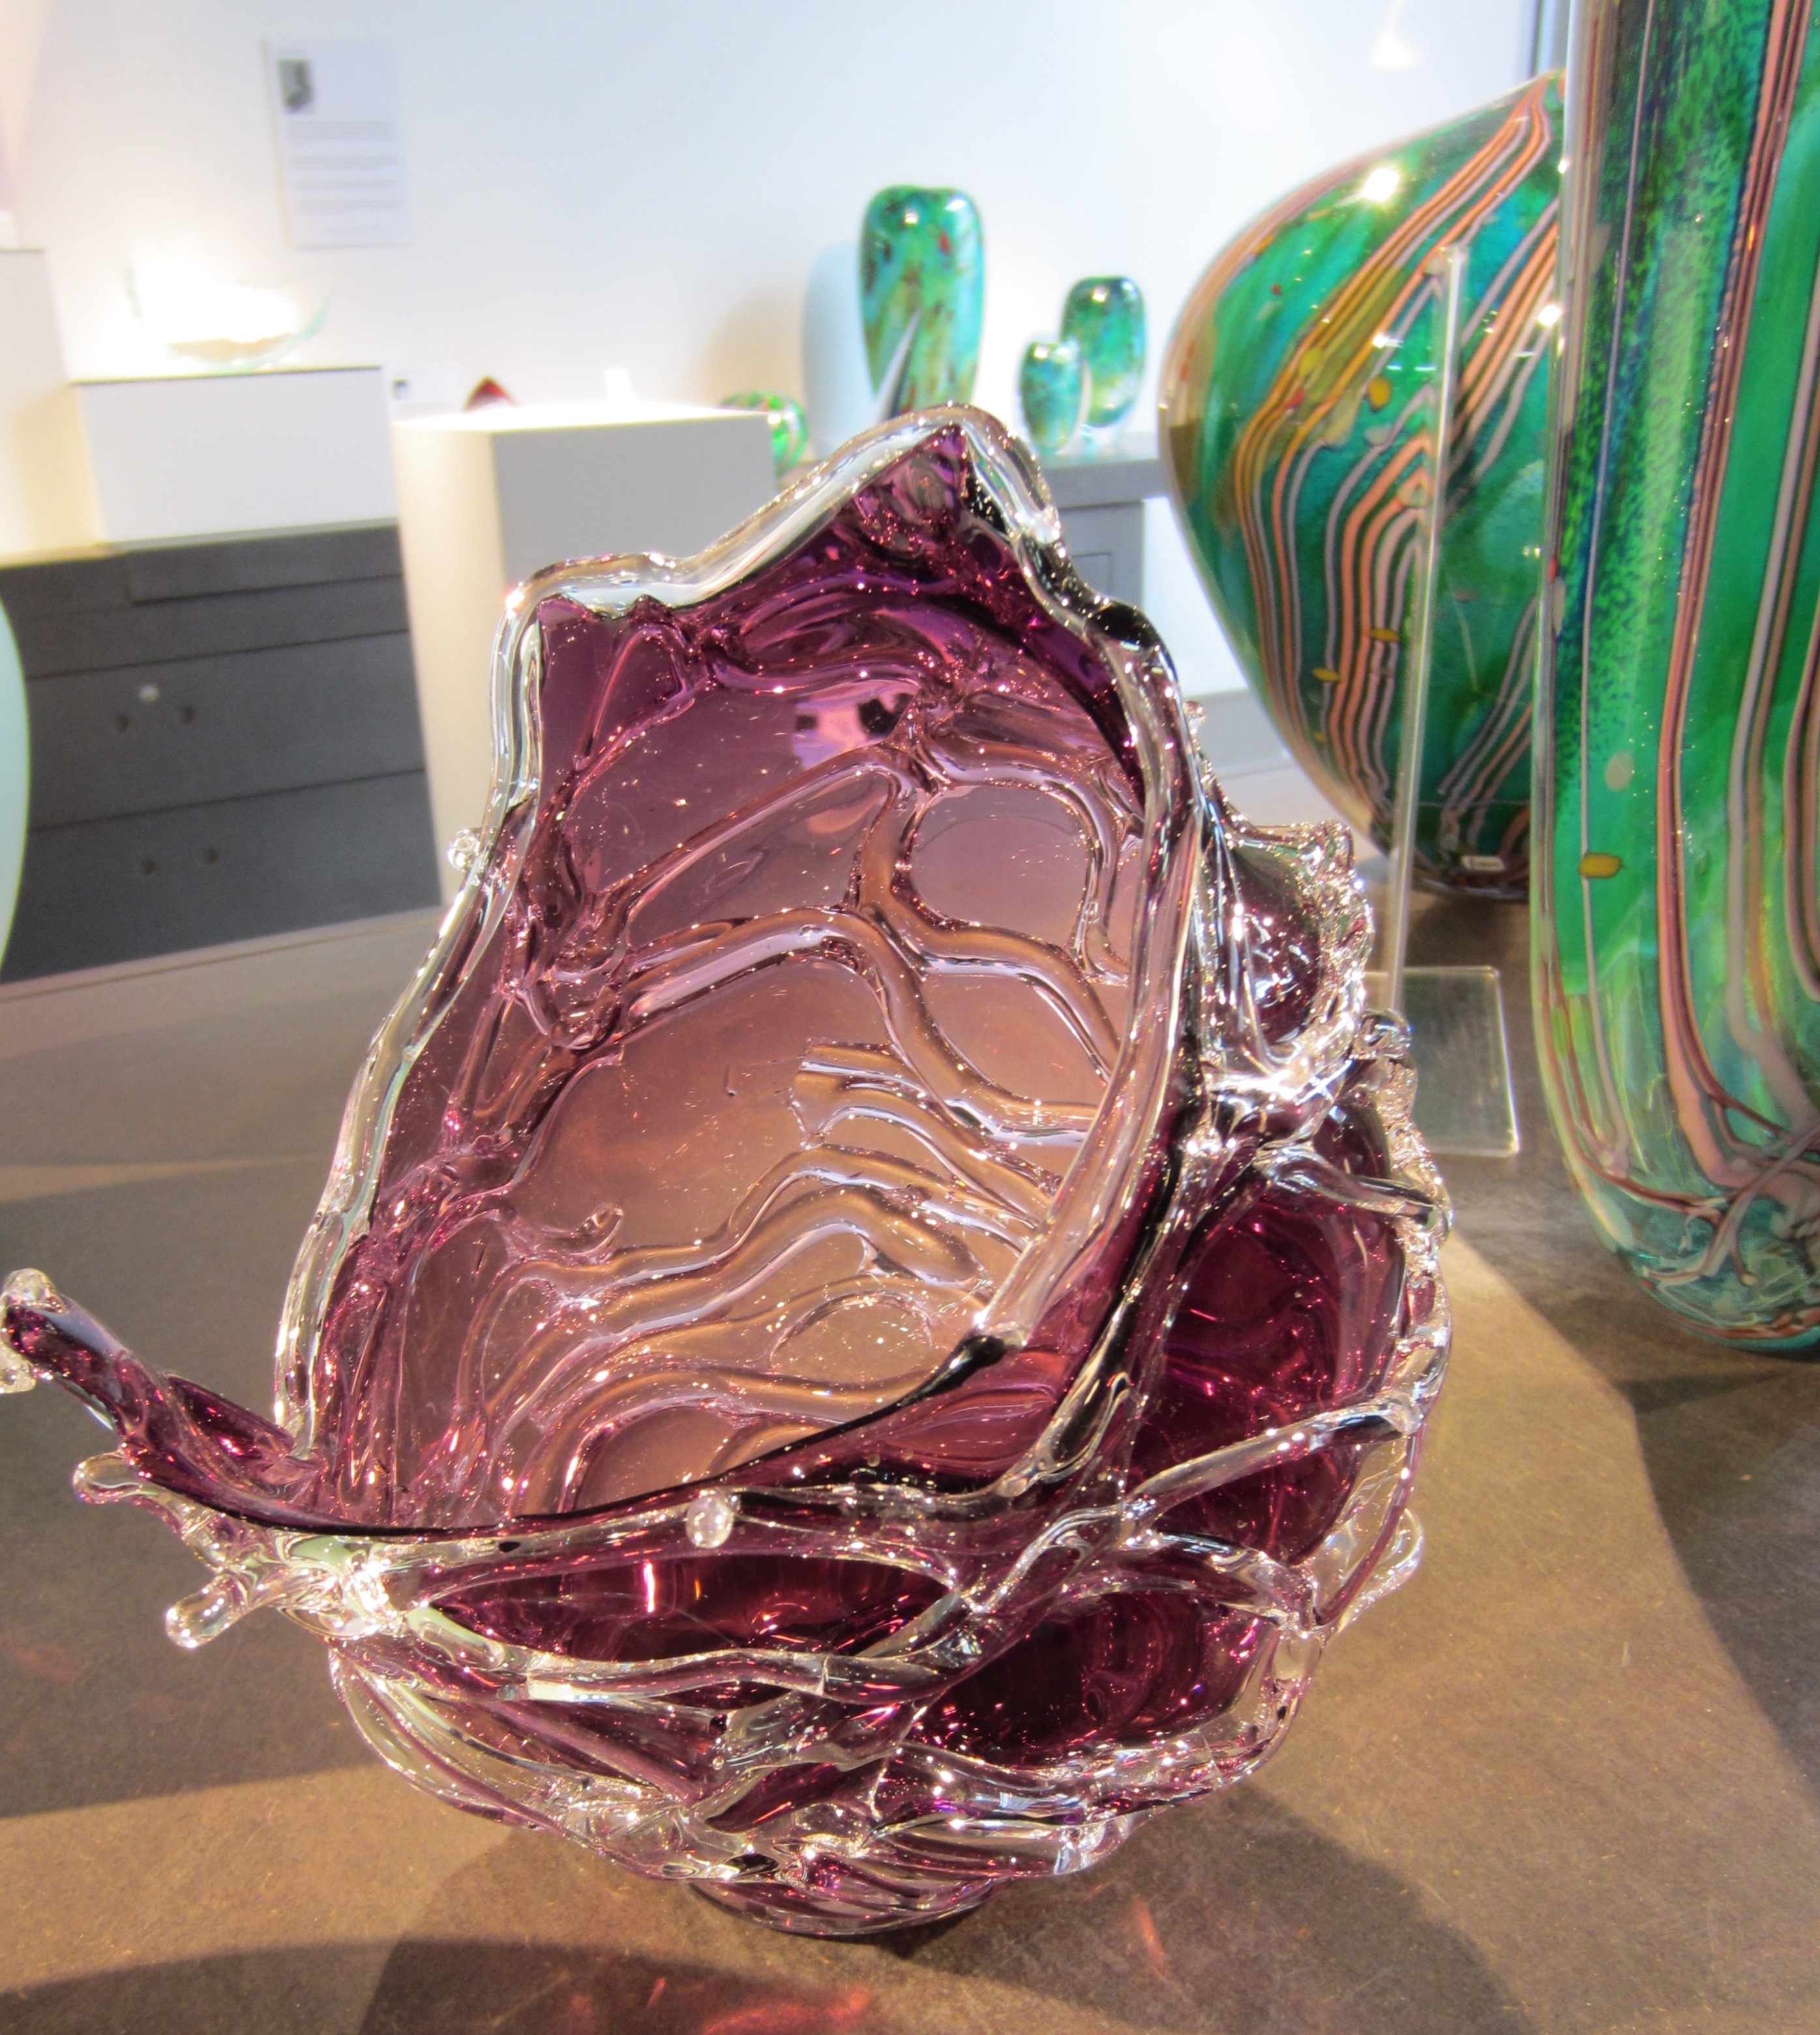
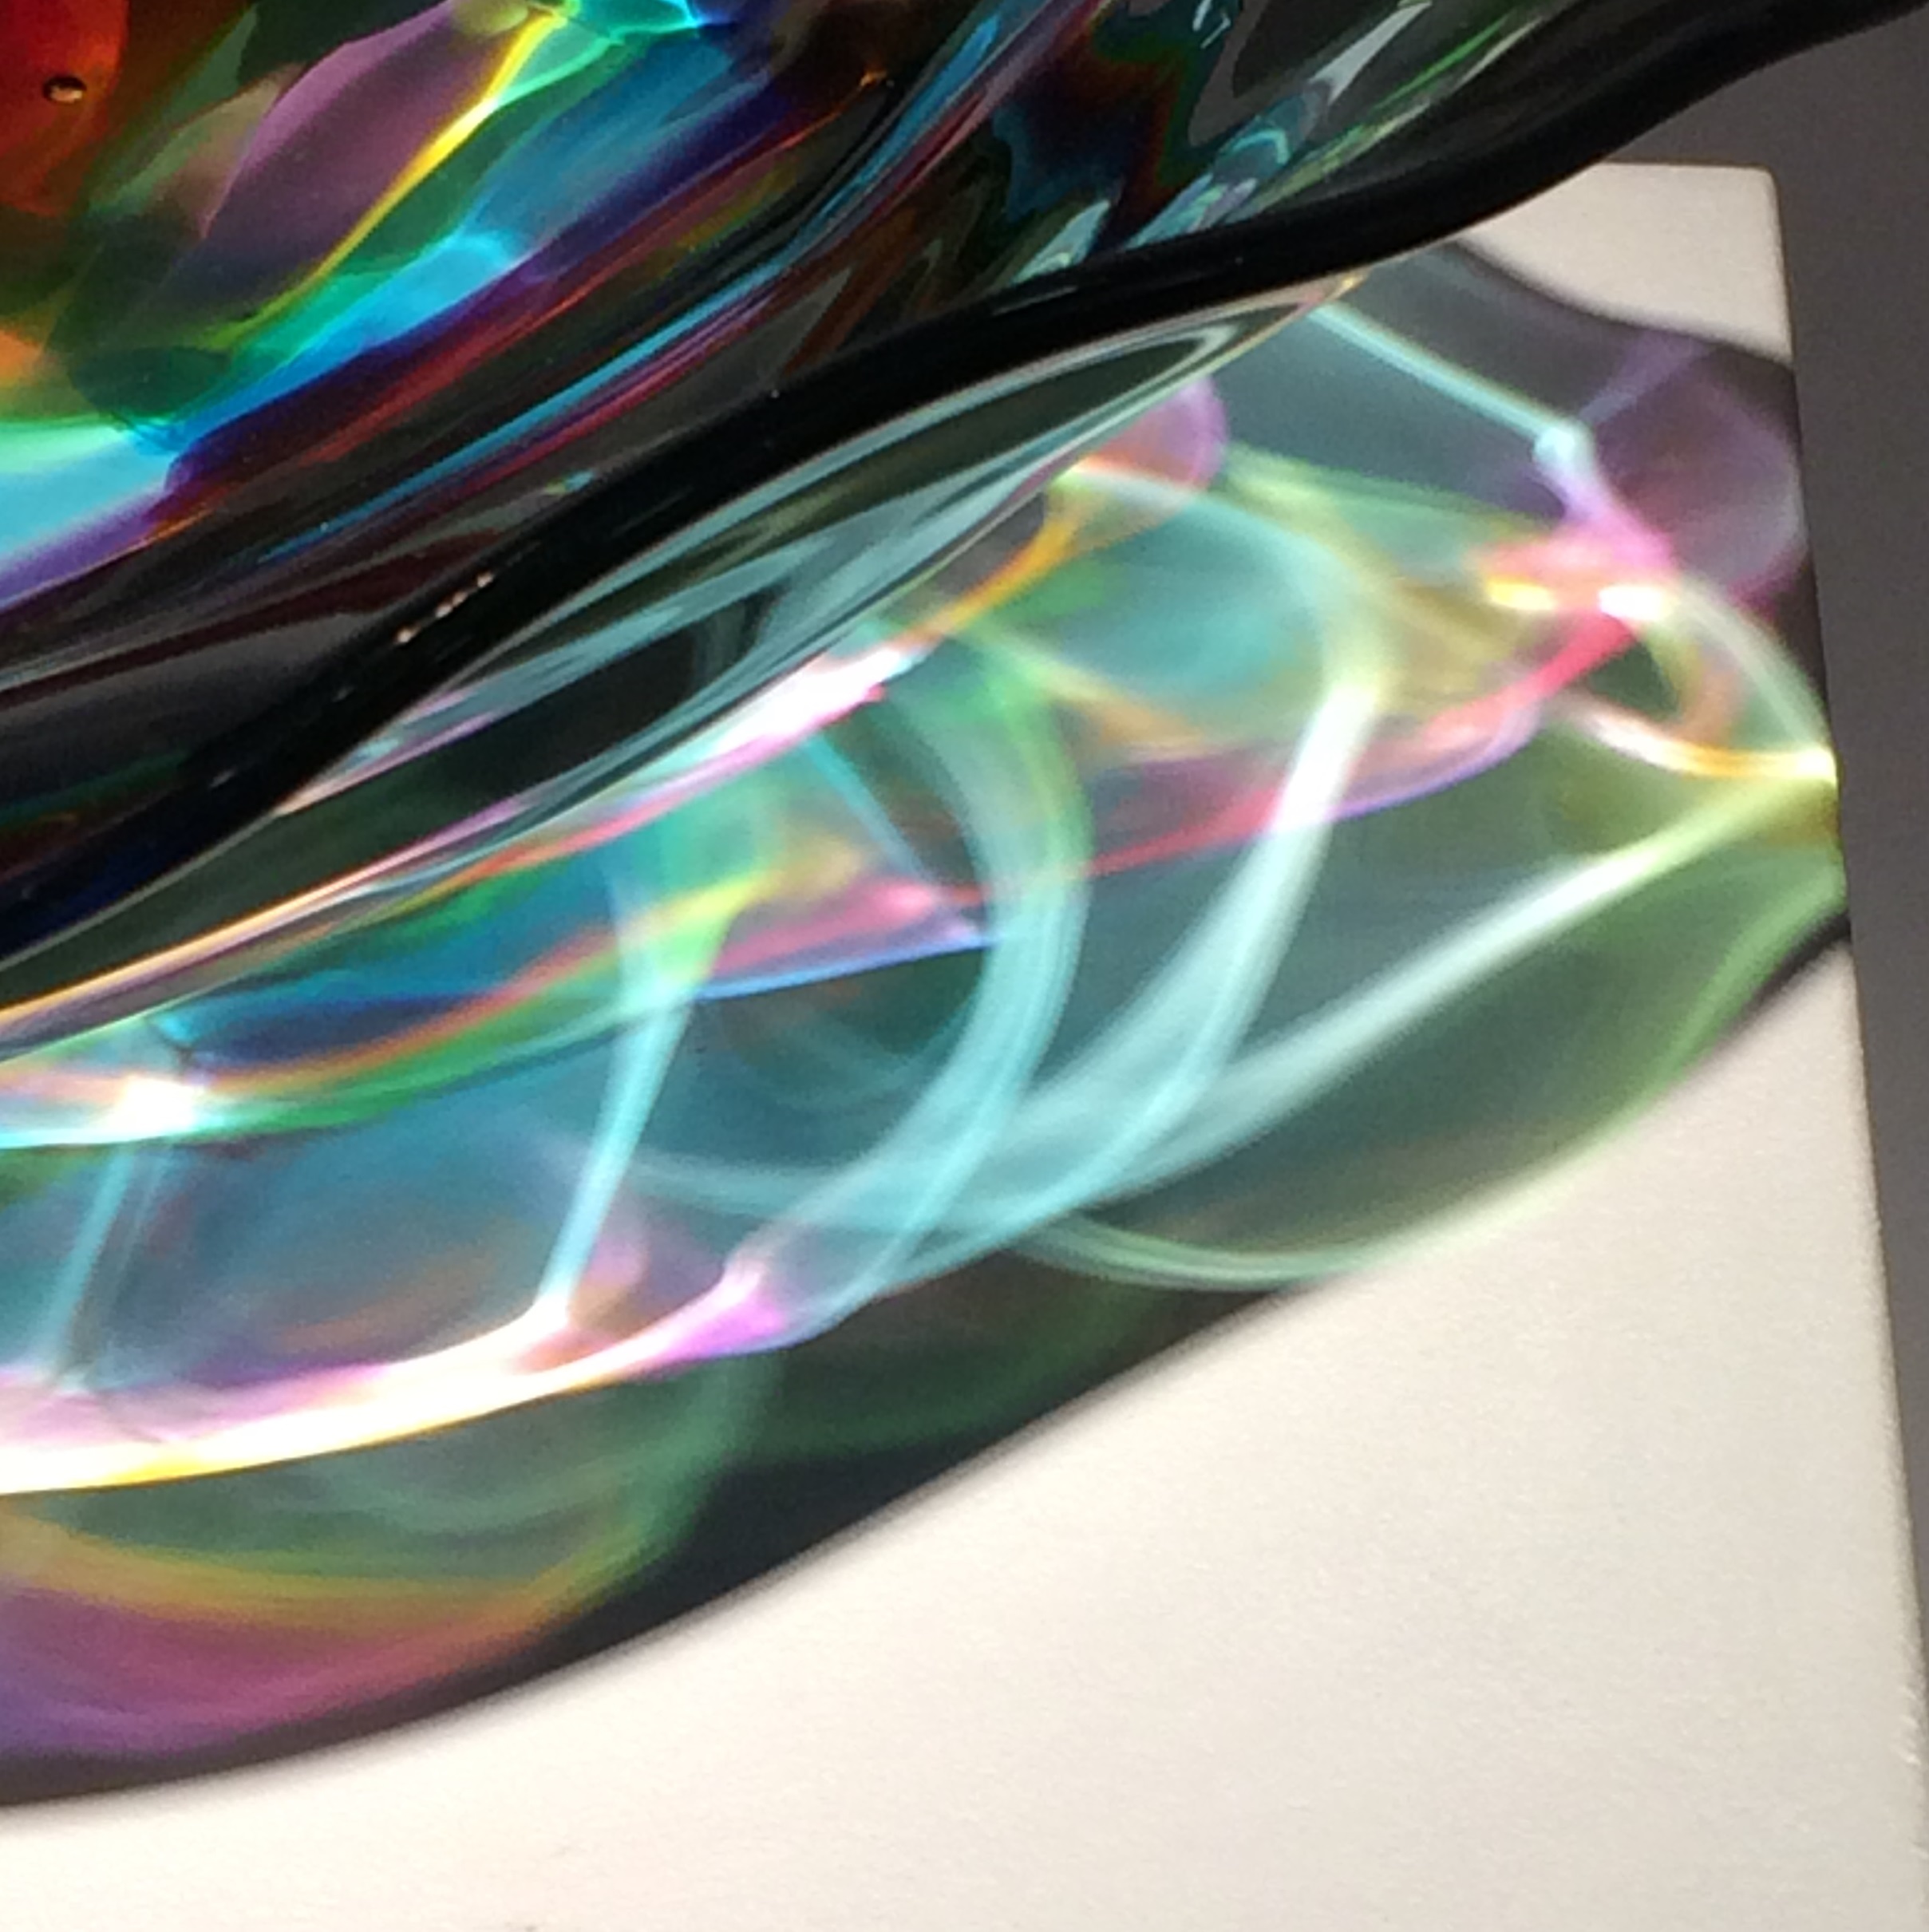
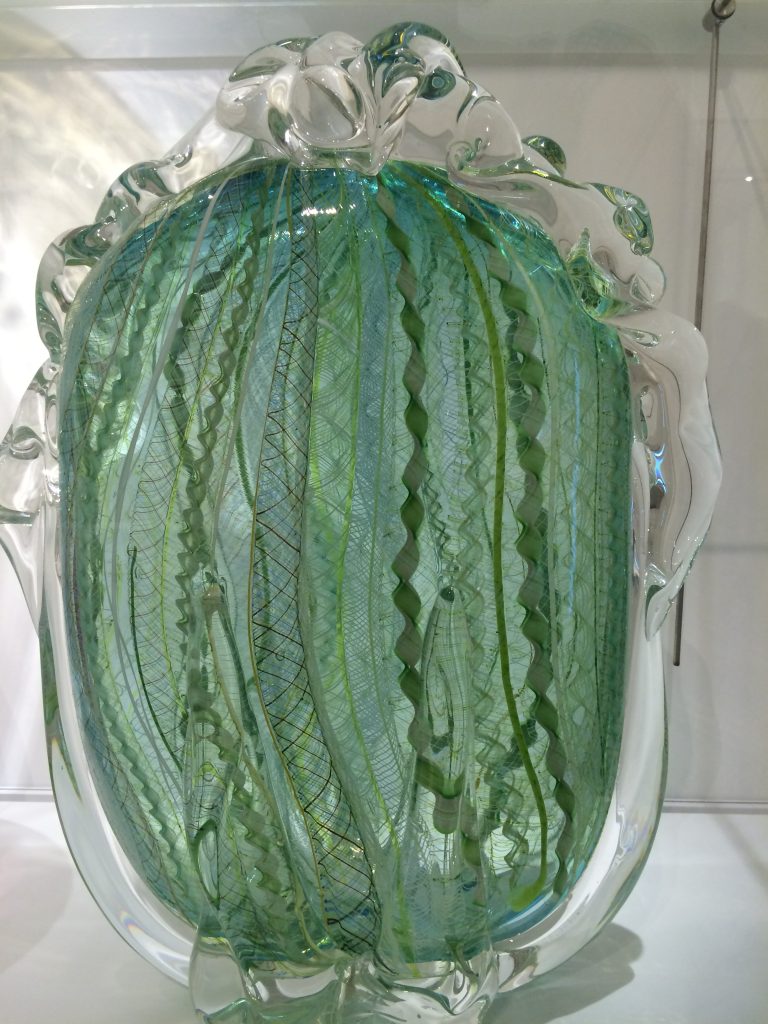
After coffee, it’s back to the studio. I first visited Peter Layton’s studio in London Bridge when he had premises further down the road. I went off in search of him after seeing one of his Ice Baskets on display at the National Glass Centre in Sunderland. Being greedy, I now have two Ice Baskets and a couple of smaller pieces by other artists at the studio. It’s like being a kid in a sweet shop – so many different colours and shapes beautifully offset against the white background of the gallery, it’s difficult to choose your favourite. At the back of the gallery the studio can be seen between two pristine white walls. The contrast is not restricted to just colour, but to atmosphere too. The lovely calm of the the gallery gives way, in a matter of footfalls, to a mixture of energy and excitement. Hushed tones in the sparkling white room are exchanged for the constant noise of the furnace, the heat and a hint of terror in the concrete and breeze block studio. I feel more at home in the studio. It’s exciting and it’s filled with stuff. I have to remember to stop taking photos and check to see where the next molten blob of glass on a red hot metal pipe will be coming from. It’s so easy to become mesmerised by the twisting pieces of glass slowly forming into its final shape, watching the pigments change colour as the glass cools, that you forget that there are real dangers close at hand.
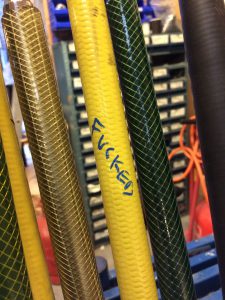
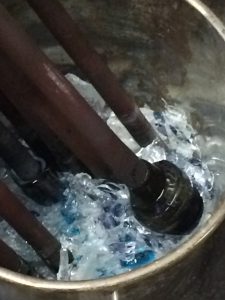
In the afternoon, we’re learning to blow glass. We start with a simple glass tumbler, no colour, just clear glass. It’s a laugh. So now we have to remember all that stuff from this morning AND blow down the rod at a constant, controlled rate. This is much harder. I’m in danger of becoming demoralised, I don’t think I’m a natural at this. It’s not just the fear of making a mistake, it’s the realisation of how many techniques and senses you need to have on the go at any one time and, frankly, I don’t think I’m up to the job! Yeah, there’s the constant turning of the rod, treat it gently thread it through your fingers and don’t grab it stressfully in the palm of your hand. Don’t panic and twist it too manically if the glass moves off-centre, ease it back calmly and slowly. But in contrast to the light touch needed with the rod, you then have this hulking great lump of hell to deal with, and the more glass you collect from the furnace to build up your object, the heavier it becomes. Muscles much larger than mine are needed to move it easily from the furnace back to the chair. Balancing the glass on the end of the rod takes more coordination than you would think. Using the jacks to pinch in the glass needs strength that was comically lacking in my right hand.
I decided that I’d put so much of my heart and soul into making that ‘simple’ tumbler, that I chose to form it into a small vase instead. That way it would be less likely to get damaged in my household!
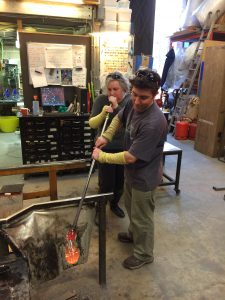
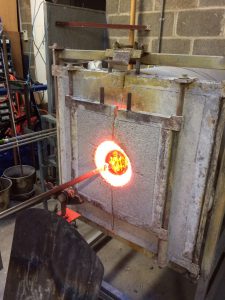
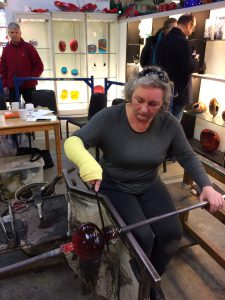
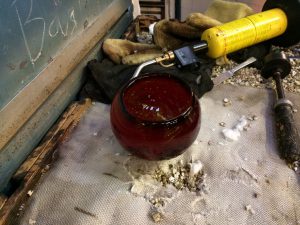
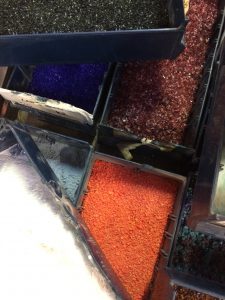
Then, towards the end of the day, when you’re hot, dehydrated and worried about a deodorant breakdown situation, comes the finale. The end piece of the day – a piece of blown glass in the shape of a bowl, vase, dish, using two, three or more colours. The range of colours to choose from is amazing. There are plastic drawers full of pigments, powder and crystals. I knew this was my last chance, so I tried to think which of my many favourite colours I should choose. It was a hard choice and it took me a while pondering, but I finally went for a rich green-blue with a streak of red. Not really sure how it’ll turn out, it was a compromise – choosing a gorgeous colour, but adding something that might make it fit in with my sitting room decor… just in case it’s good enough to go on display. That’s one of the fascinating things about glassmaking, you can’t truly know how the colours and pattern will turn out until you see the finished object. I made a bowl, goldfish-style. Not a dramatic statement, but a shape I like. I was so pleased when I finished – proud of myself and delighted that I hadn’t met with any major injuries!
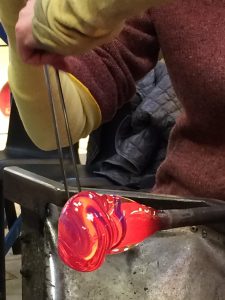
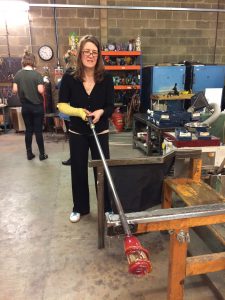
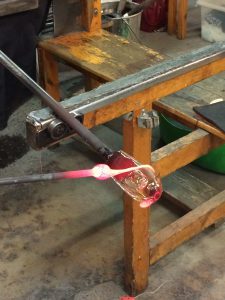
Jane was next up while I took photos. She too went for a round bowl, but her colours were inspired by her beautiful rusty pink jumper with flecks of heathery blue. Lisa, who had previously created a paperweight using primary colours, decided to go the whole hog for her final piece and create a rainbow bowl. With the help of Anthony, ribbons of coloured glass were wound around the bowl in ‘roygbiv’ sequence. It was amazing to see the colours change as the pot cooled, but we will all have to wait to see the final results. Roll on next Saturday!
I would heartily recommend the day-long class as a once-in-a-lifetime experience, and it’s great to think I’ve created a hand-crafted piece of glass, but I can’t honestly say it was all my own work. And anyone thinking you can turn up to the class and produce a piece of art without any previous experience might be a tad disappointed. Luckily, I had no preconceived notions that I could be a glass blowing genius. We’ll leave that to Anthony and Tim and the rest of the talented artists at London Glassblowing.
Thank you to Lisa and Jane for their help with photography.
